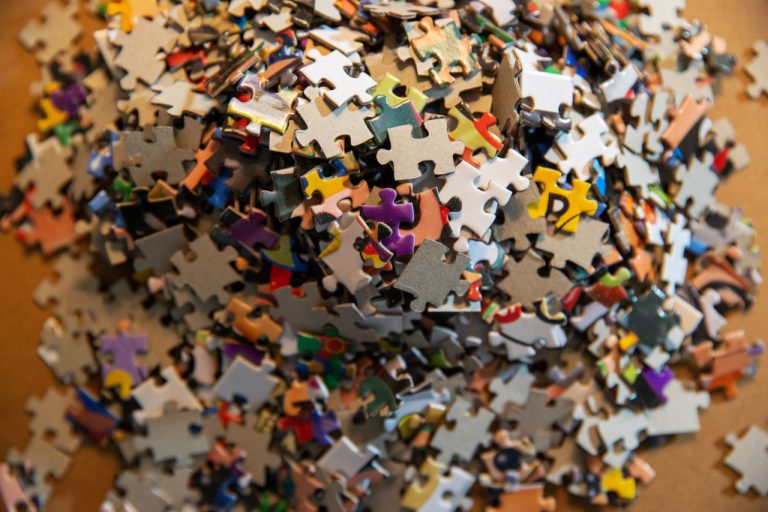
How to Design Your First Puzzle: A Beginner’s Guide
Puzzles are more than just fun—they’re a brilliant way to exercise your brain, tell stories, and even earn income. Whether you love crosswords, escape rooms, logic games, or creative brainteasers, designing your own puzzle can be a deeply rewarding experience.
In this beginner’s guide, we’ll walk you through the essential steps to design your very first puzzle, even if you have no prior experience.
Why Design Puzzles?
Before jumping into the how, let’s explore the why. Designing puzzles helps improve critical thinking, boosts creativity, and teaches you how to structure problems and solutions. It’s also a great way to engage others—puzzles can be used in classrooms, games, events, or even sold online.
Plus, it’s a fantastic creative outlet. When you create a puzzle, you’re essentially crafting an experience that challenges, entertains, and surprises your audience.
Step 1: Choose Your Puzzle Type
There are many types of puzzles, and each one involves different skills and styles of thinking. Here are a few beginner-friendly options:
- Crossword puzzles: Great for word lovers. They require some knowledge of grid design and clever clue-writing.
- Logic puzzles: Focused on reasoning and deduction. Often found in IQ tests or math contests.
- Word searches: Simple but satisfying, and great for learners or younger audiences.
- Riddles and brainteasers: Short-form puzzles that rely on wordplay and lateral thinking.
- Escape room puzzles: Combine storytelling with layered puzzles and hidden clues.
Start with the format that you enjoy solving most—it’ll be easier to design something you already understand and appreciate.
Step 2: Define Your Goal and Audience
What do you want the puzzle to achieve? Is it just for fun? Is it meant to teach something? Or maybe to challenge advanced solvers?
Also consider who will be solving it. A puzzle for kids should have simpler rules and fewer steps. A puzzle for adults can include more complexity, layers, and abstract logic.
Knowing your audience will guide the difficulty level, the type of language you use, and how you structure clues and answers.
Step 3: Brainstorm the Core Idea
Every great puzzle has a clear concept or hook. For example:
- A crossword themed around space
- A logic puzzle that mimics a murder mystery
- A visual puzzle where shapes must fit together
- A word riddle with a clever pun as the answer
Think of your puzzle as a mini story or challenge. What makes it unique? Is it the way it’s solved, the theme, or the final twist?
Start small. Even a single clever idea can turn into a brilliant puzzle.
Step 4: Create a Solution First
This might sound strange, but most professional puzzle designers begin by creating the solution first.
Why? Because working backward ensures that your puzzle is actually solvable. Once you know what the correct answer is, you can craft clues, steps, or distractions that logically lead to that answer.
For example, if the solution to your riddle is “shadow,” you can now build clues related to darkness, light, and following shapes.
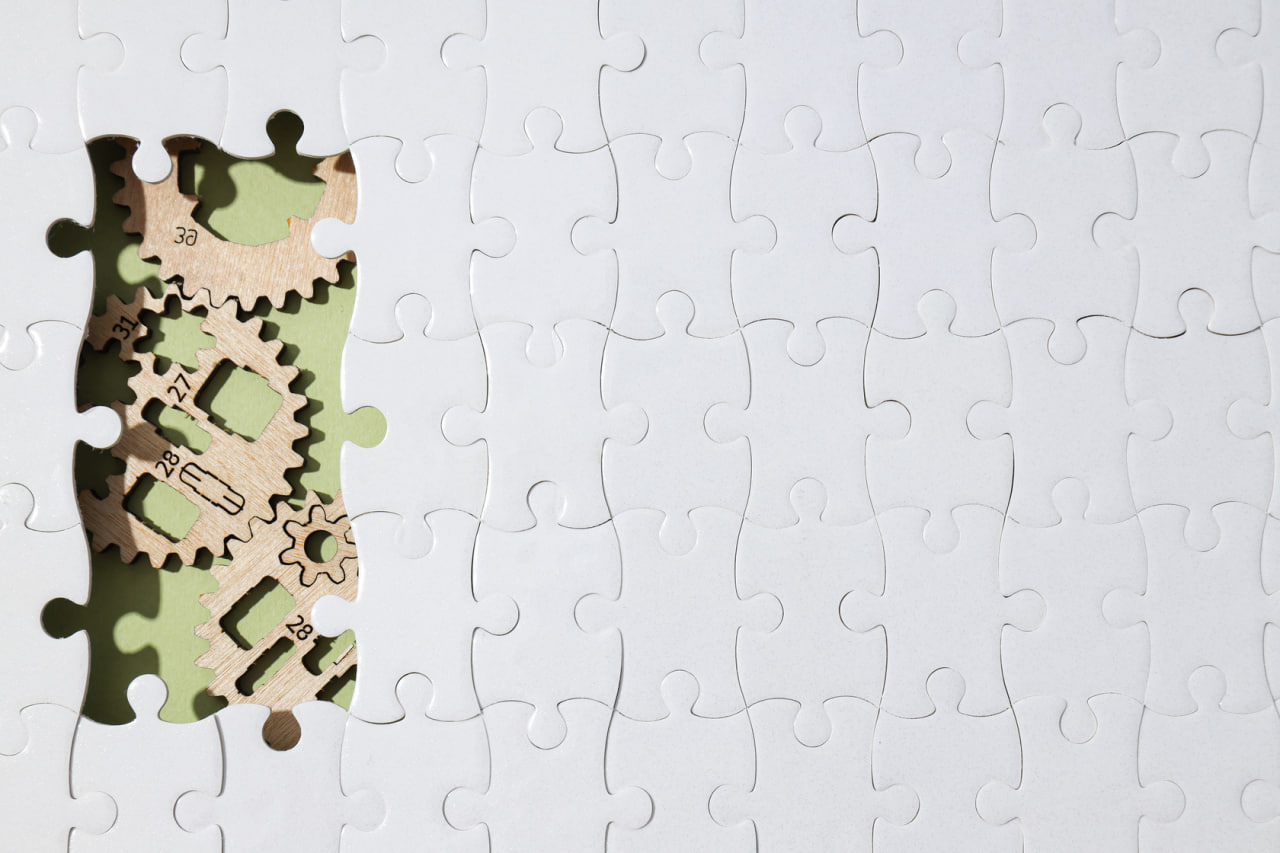
Step 5: Design the Mechanics and Flow
Now it’s time to structure the puzzle so it works from start to finish. Depending on the type of puzzle, this might include:
- Placing words in a grid
- Drawing diagrams
- Writing logical rules
- Crafting clues with hidden meanings
This is also where you balance difficulty. A good puzzle feels challenging but fair. Avoid overly vague clues or solutions that rely too much on guessing. You want the solver to feel smart—not frustrated—when they figure it out.
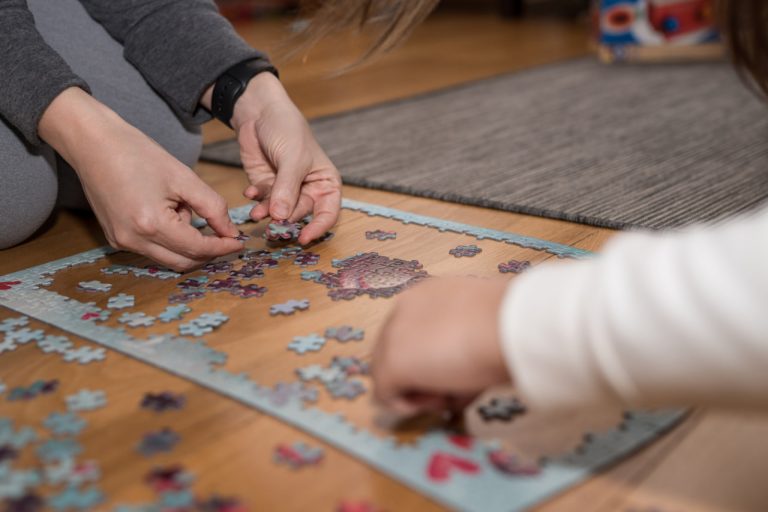
Step 6: Test and Refine
Never skip this step. Test your puzzle on friends, family, or fellow creators. Watch how they interact with it. Did they get stuck too early? Did they solve it faster than expected? Did they enjoy it?
Use their feedback to refine the puzzle:
- Clarify any confusing language
- Adjust the difficulty
- Fix logical holes
- Remove unintentional shortcuts
Iterate until the puzzle provides a smooth and satisfying experience.
Step 7: Present It Nicely
A puzzle isn’t just about the content—it’s also about the experience. How you present your puzzle can make a big difference:
- Use clean and readable fonts
- Add illustrations or visual hints if needed
- Offer clear instructions
- If it’s digital, make sure it’s mobile-friendly
The better it looks and feels, the more likely people will enjoy solving it—and want to try more.
Step 8: Share It with the World
Once your puzzle is ready, it’s time to share it! You can:
- Post it on your blog or website
- Print it as a worksheet
- Offer it as a freebie in a newsletter
- Sell it on Etsy or puzzle marketplaces
- Include it in a game or escape room
Don’t be afraid to put your creation out there. The puzzle community is welcoming and always excited about new challenges.
Final Tips for First-Time Puzzle Creators
- Start small: Begin with short, simple puzzles and work your way up.
- Be patient: Puzzle design is a skill that improves with practice.
- Learn from others: Solve puzzles from books, apps, or online creators to understand structure and flow.
- Stay playful: Puzzles should be fun to make and solve!